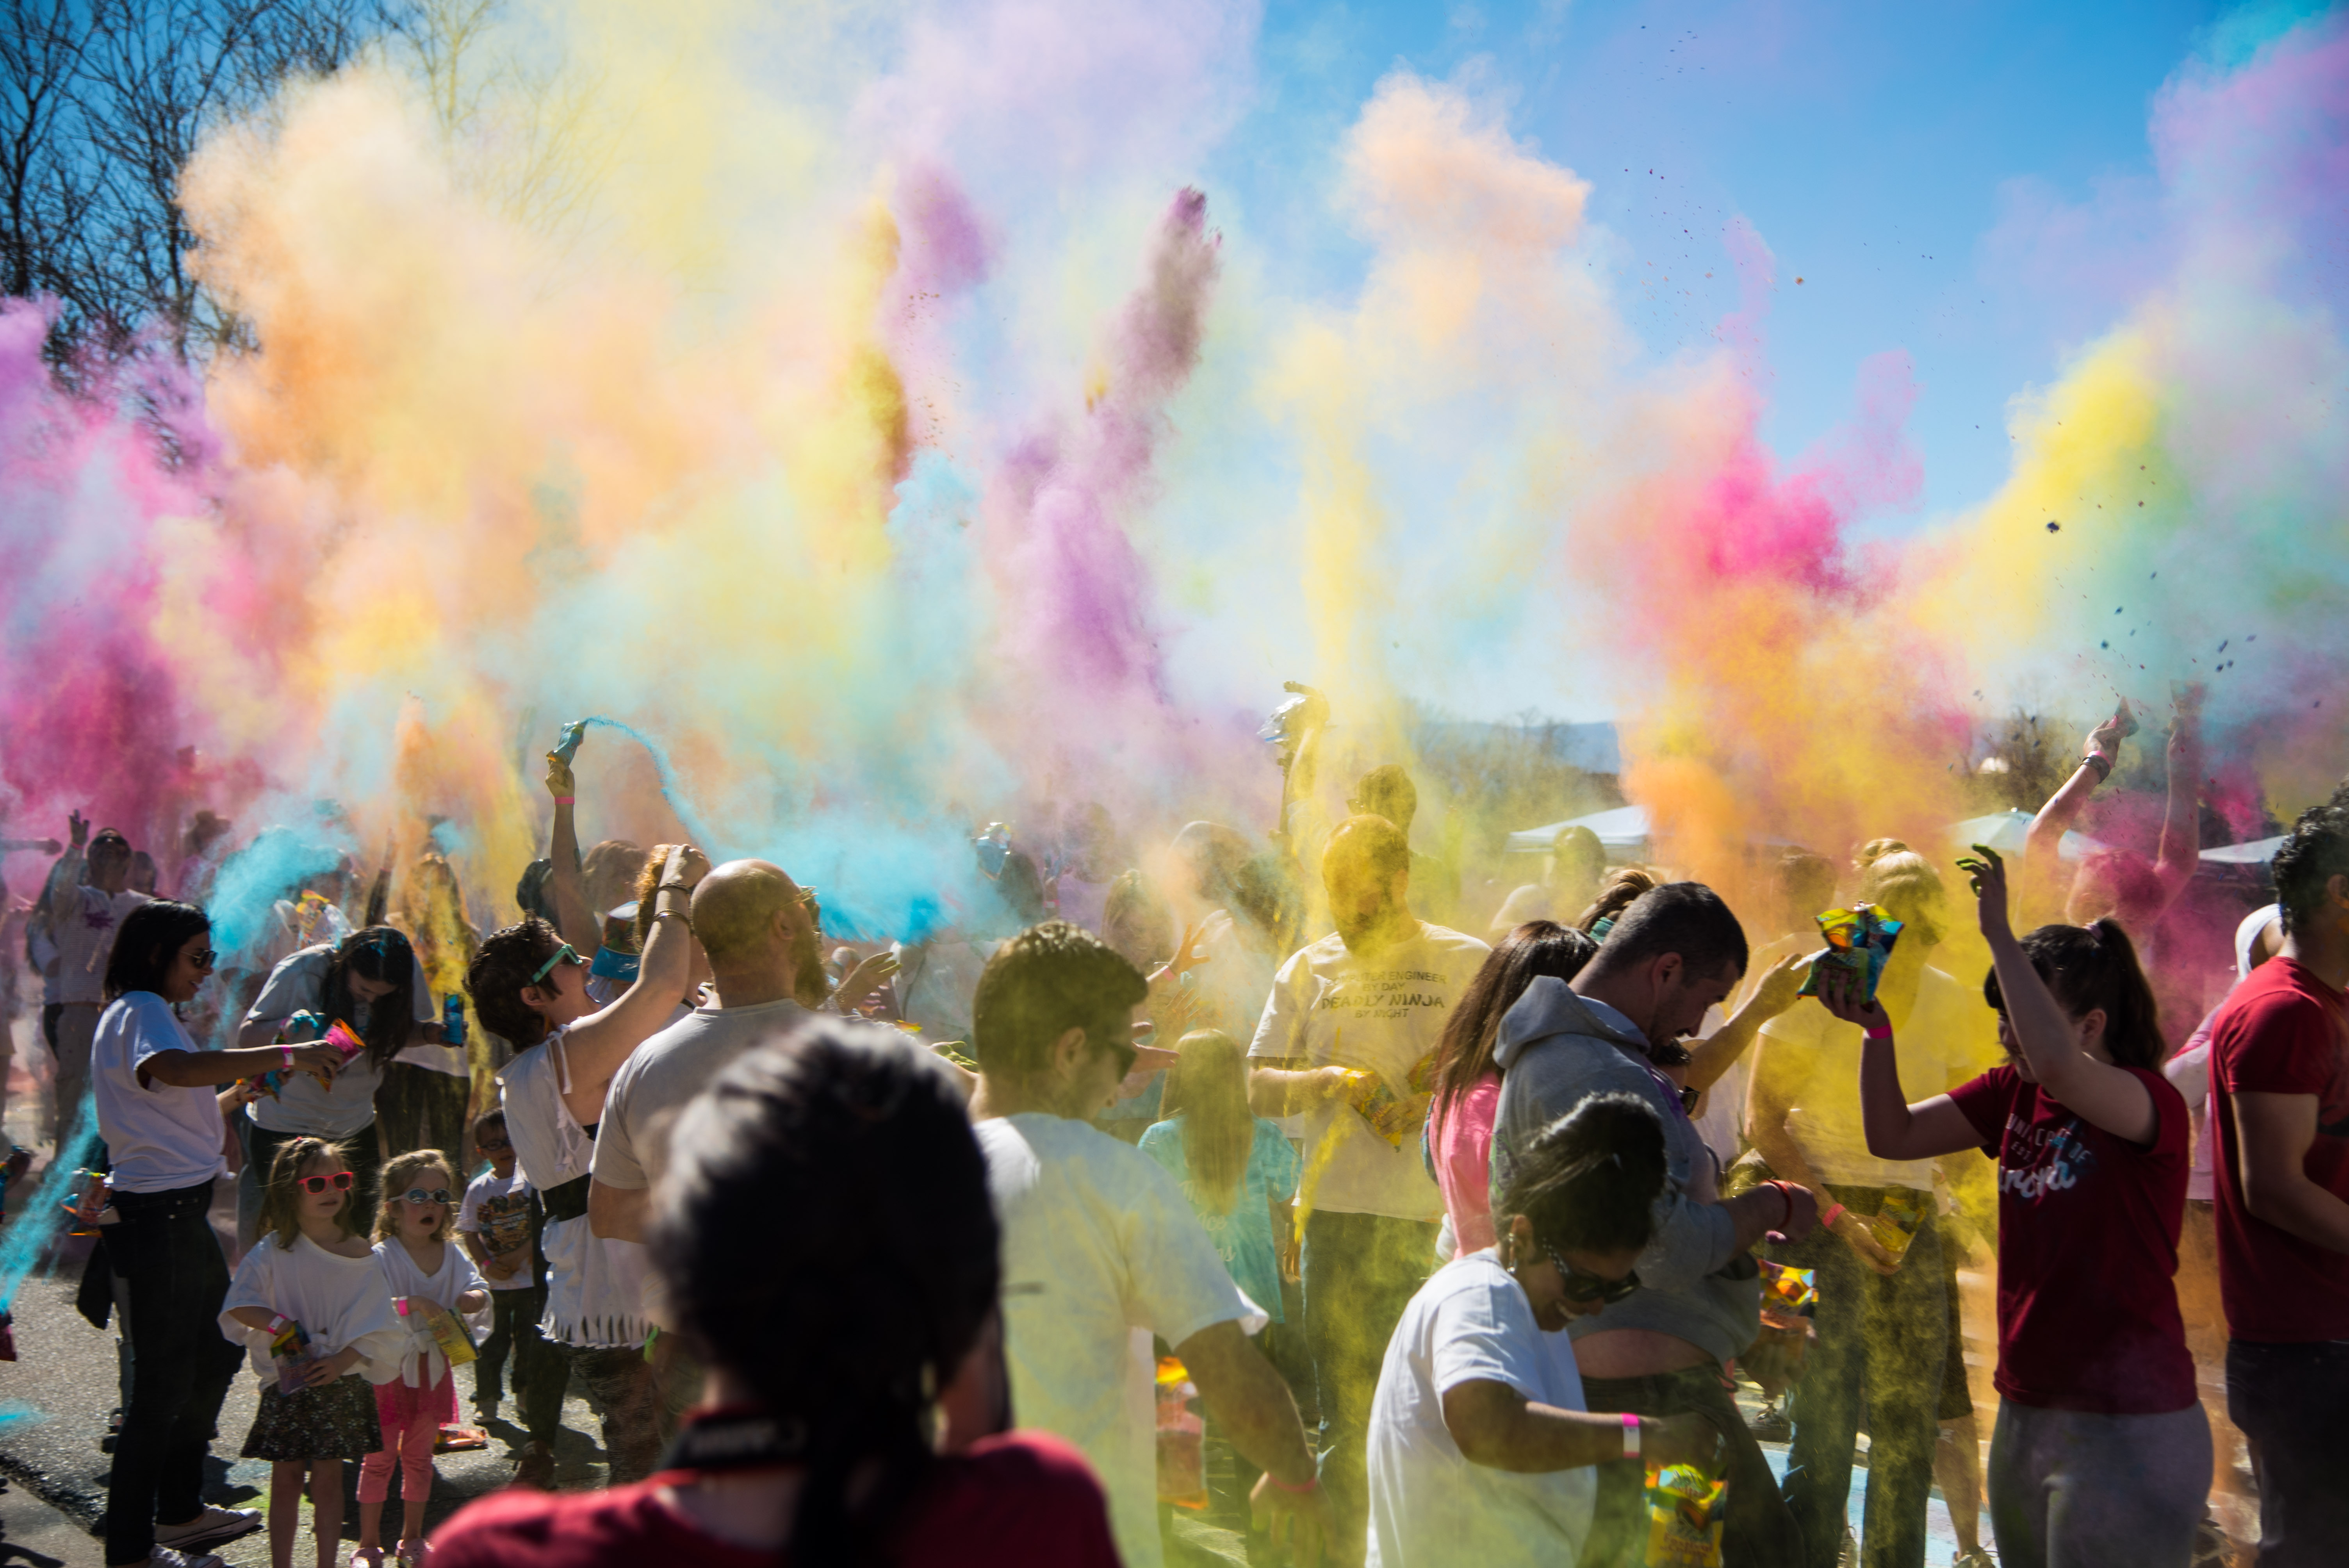
Photographing a Color Run
I was honored to be asked to sponsor a Color Run for a local non-profit agency, Shadhika that provides financial support to girls in India to gain education. This was in conjunction with International Women’s Week and the festival of Holi. The event was scheduled to be at Cheesman Park in Denver, with four color throws interspersed with other fun activities.


5 Tips to Making your Color Run Pictures Successful
As much as I was excited to be part of this amazing event and supporting a great cause, I was also fairly nervous about the havoc it could cause on my equipment. However, I am happy to say that my experience was positive and the precautions I took to safeguard thousands of dollars of equipment, was well worth the effort. I’m writing this in the hopes, that you too should venture out there to take some vibrant color run pictures without fear of permanent damage to your investment.

1. Tape it Up
Dust will be your main enemy (and moisture, if you are participating under wet conditions). Even a miniscule amount of dust can damage the sensor and the lens. Furthermore, powder used in Color runs have a certain magnetic element in them which can cause electric failure as well. Your best investment will be in the time you take to tape off the important elements in your camera. I used masking tape because I knew it would only be dry powder throws. However, if you are anticipating wet throws, then use duct tape or gaffers tape which will leave no residue when taken off. Seal off all the important elements, like the point at which the lens meets the sensor, the battery insert, the memory card inserts.
Make sure the battery is charged and the memory cards are in the slots before you tape them shut. If you are using a zoom lens then be careful that your taping doesn’t affect the telescoping of the lens, or produce unnecessary strain on the motor as it auto-focuses.
2. Protective Covers


I invested in the Powerextra Protective rain cover and some UV filters for protection of the lens ( 77 mm Altura Pack and a 58 mm YSDIGI) . These are cheap investments to protect the thousands of dollars that are riding on your camera bodies. If you are unsure of the thread of your lenses, look at the body of your lens where it mentions the brand and this symbol Ø. The number will be right after it.
I was particularly happy with the Altura Pack since it contained an ND filter. I knew I would be photographing in the midday sun, and this filter helped to reduce the brightness and bring out Denver’s blue skies in perfect contrast to the colorful powder!
The rain cover also worked really well, since it had adjustable ties on both ends to tighten around the hands. I could also see fairly clearly through the protective clear plastic window to see what I was shooting. There are more expensive rain covers available, but this one served me really well. Instead of taking the rain cover on and off as I switched camera bodies, I kept it on one camera body, while I used a makeshift plastic grocery bag to cover the other. This too worked out fine for the dry throws. You can also use a shower cap with an extra elastic band to secure it to the lens hood. I’m happy to say that between the taping and the protective covers, I got minimal/no amount of dust on my cameras.
3. Carry a backpack

Go to your local Goodwill store, or use a backpack that you really don’t care much about because it will get a significant amount of powder on it. Use this to carry your gear in. Keep it compact. You do not want to be lugging a truckload of gear around.
Additional supplies:
Stick to two lenses. I chose to use two camera bodies with a prime and a wide-angle zoom lens. This enabled me to go through the entire event without changing lenses. Additionally, every time you take the lens off, is an opportunity for dust to settle on the mirror. My backpack also contained a soft cloth and wipes to clean off the cameras in case they got too dusty. Luckily, I never had to use it. I also kept some spare bags and masking tape just in case I needed reinforcements.
4. Interact with Participants


Your best chance for some amazing pictures is if you go right up to the participants and do some close-up tight shots. Everyone is in a festive mood, and families are more than happy to capture those moments on camera. Moreover, try to take some posed shots, but also go for natural, in-action moments of people chucking powder at each other, hugging, smiling and dancing. Also, look for details like powder in hands, hair drenched in a multitude of colors, kids frolicking on the colored pavements.
5. Perspective/Location:


Though it is true that you can get spectacular shots by being in the middle of the action, it would be equally rewarding to be on the fringes. Experiment by taking wide-angle shots of powder being hurled in the air. Furthermore, it will save your lens’ surfaces significantly. Similarly, try taking some shots from the ground up, or top down for a variety of angles.


No doubt, if you feel your camera and equipment is secure, you can devote your entire energy to taking great pictures and enjoying the spirit of the event.


